How-To
How to change a Chamberlain remote control battery for your garage door opener
The battery in your Chamberlain remote control won’t last forever — here’s how to change it.
Quick Answer: Remove the back cover of the remote. Take out the old battery and insert the new one. Replace the remote cover and reprogram the remote.
The latest garage door openers from Chamberlain use myQ for remote control via a smartphone app. Still, it’s good to have a backup with the company also supplying an old-school remote control and keypad.
Those remotes are battery-powered and drain over time, even if they’re not being used.
So if your garage door opener’s remote is not working as intended, the first thing you need to do is to replace the battery.
To do so, we’ve put together a handy guide to changing the battery in a Chamberlain remote control.
How to change the battery in a Chamberlain remote control
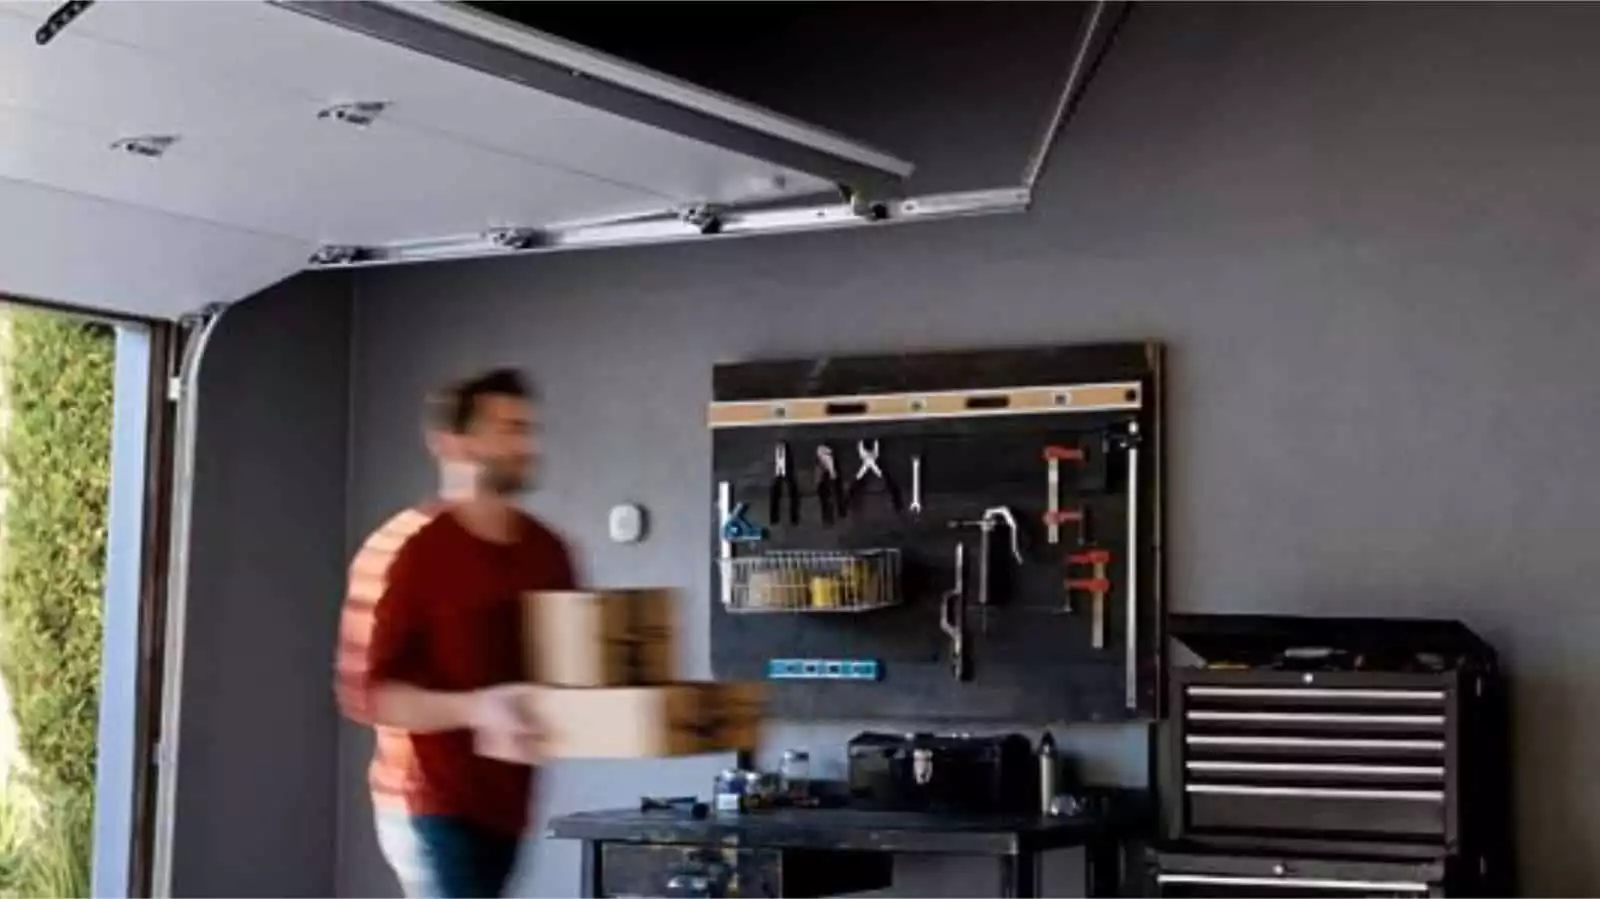
Chamberlain's automatic garage door openers are powered by myQ. That gives you app control and linking to Amazon Key, for in-garage deliveries to defeat porch pirates.
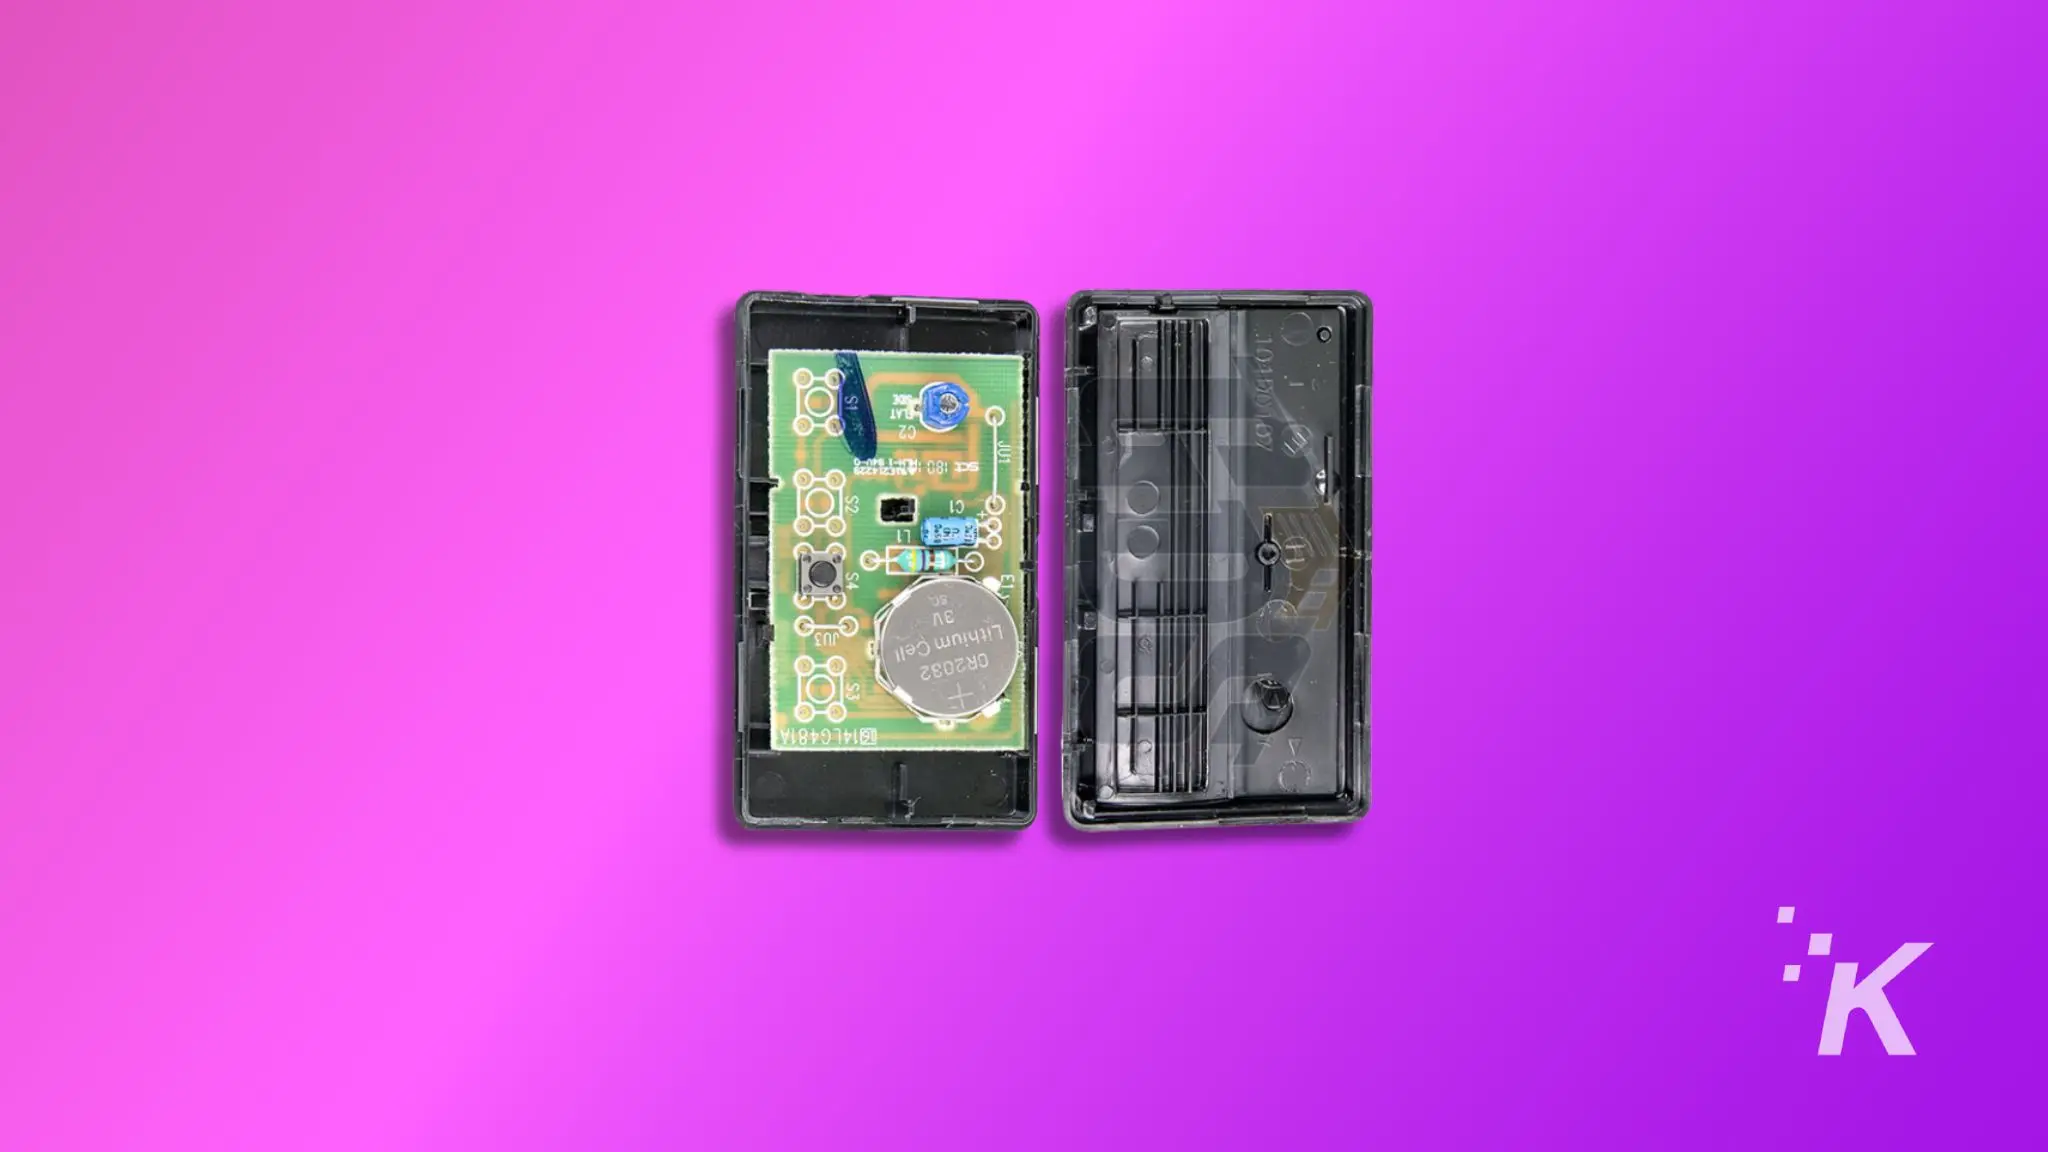
You’ll need some 3V CR2032 coin cell batteries and a screwdriver with a Philips head.
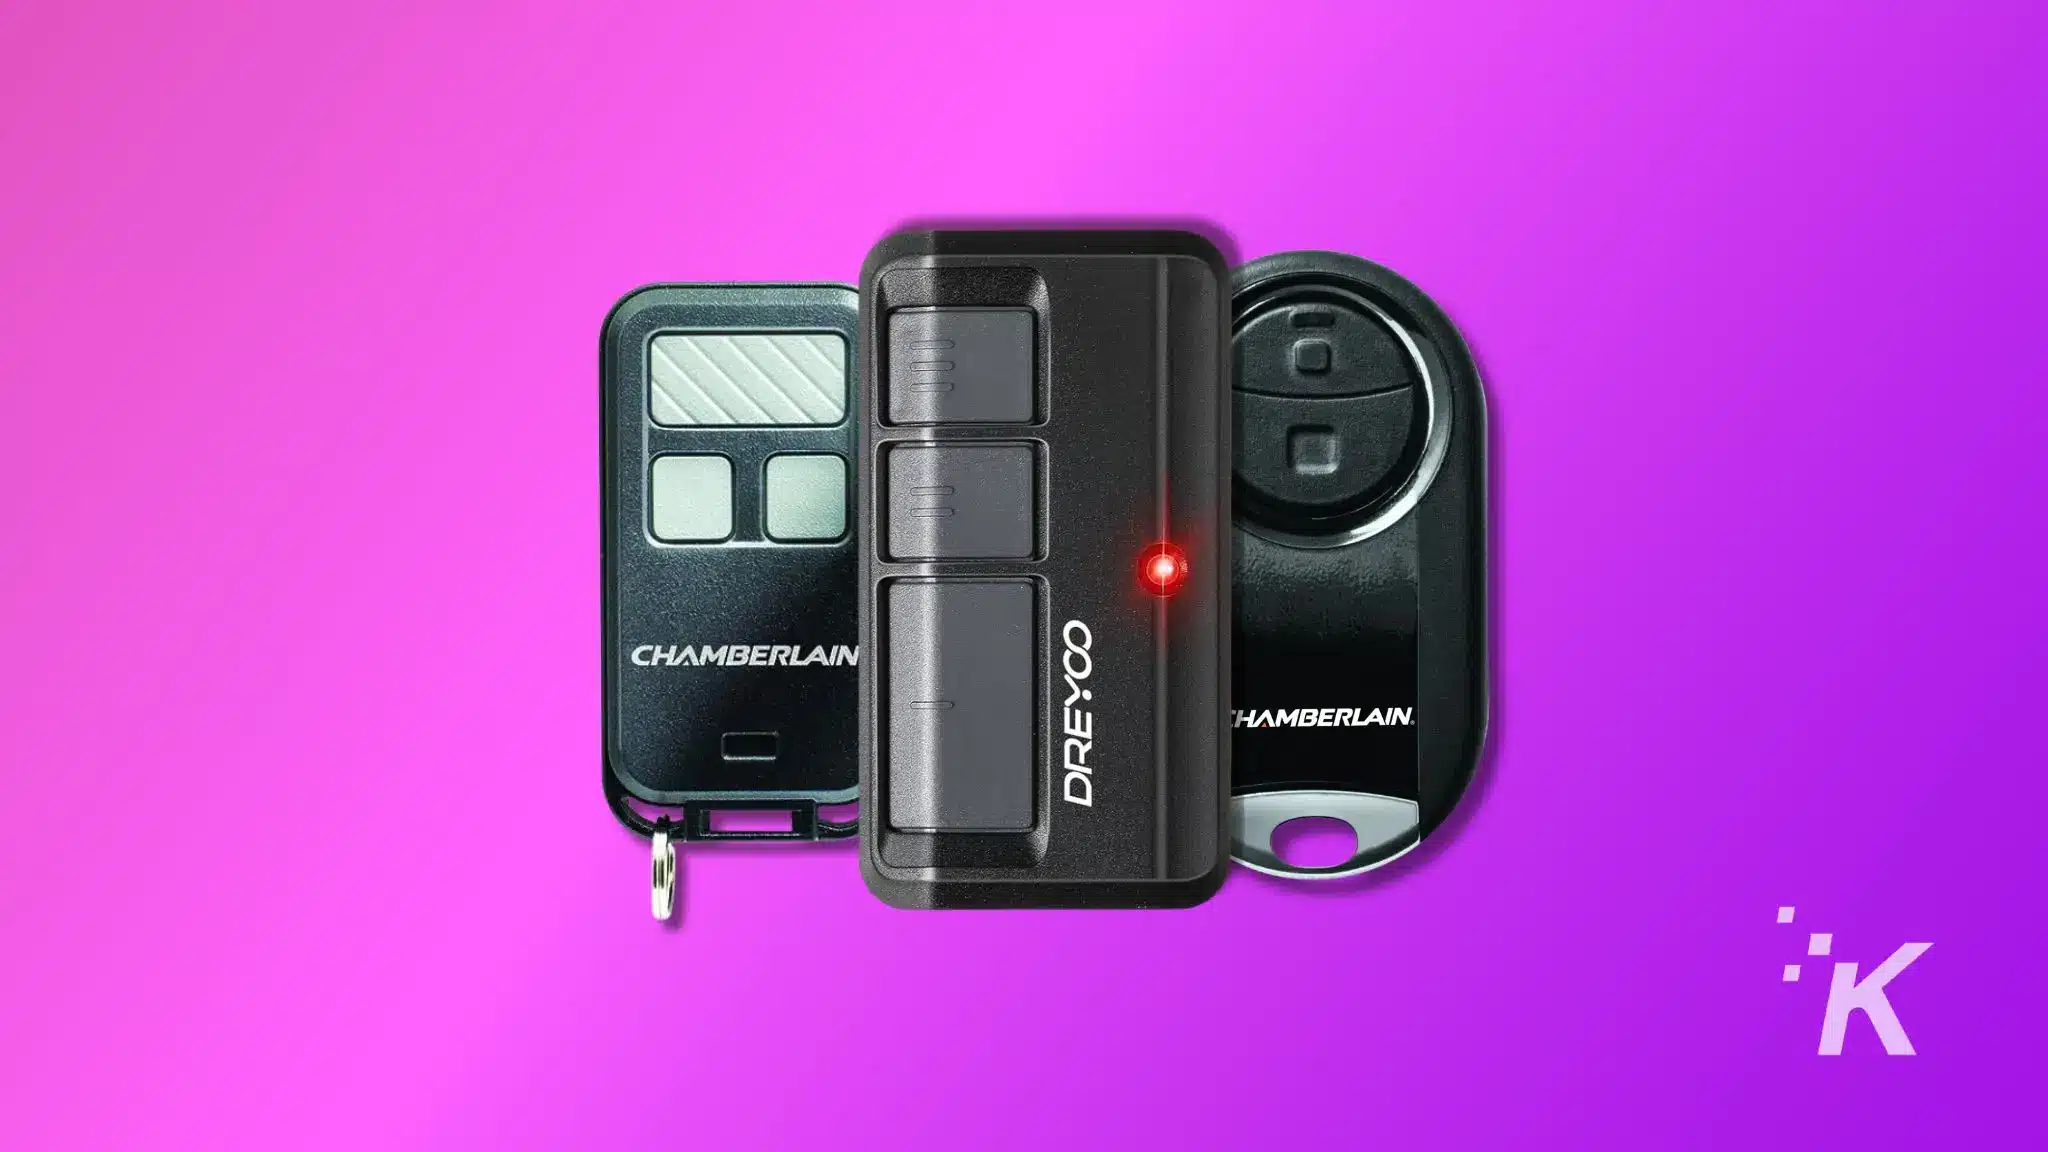
Here are some popular remote models by Chamberlain:
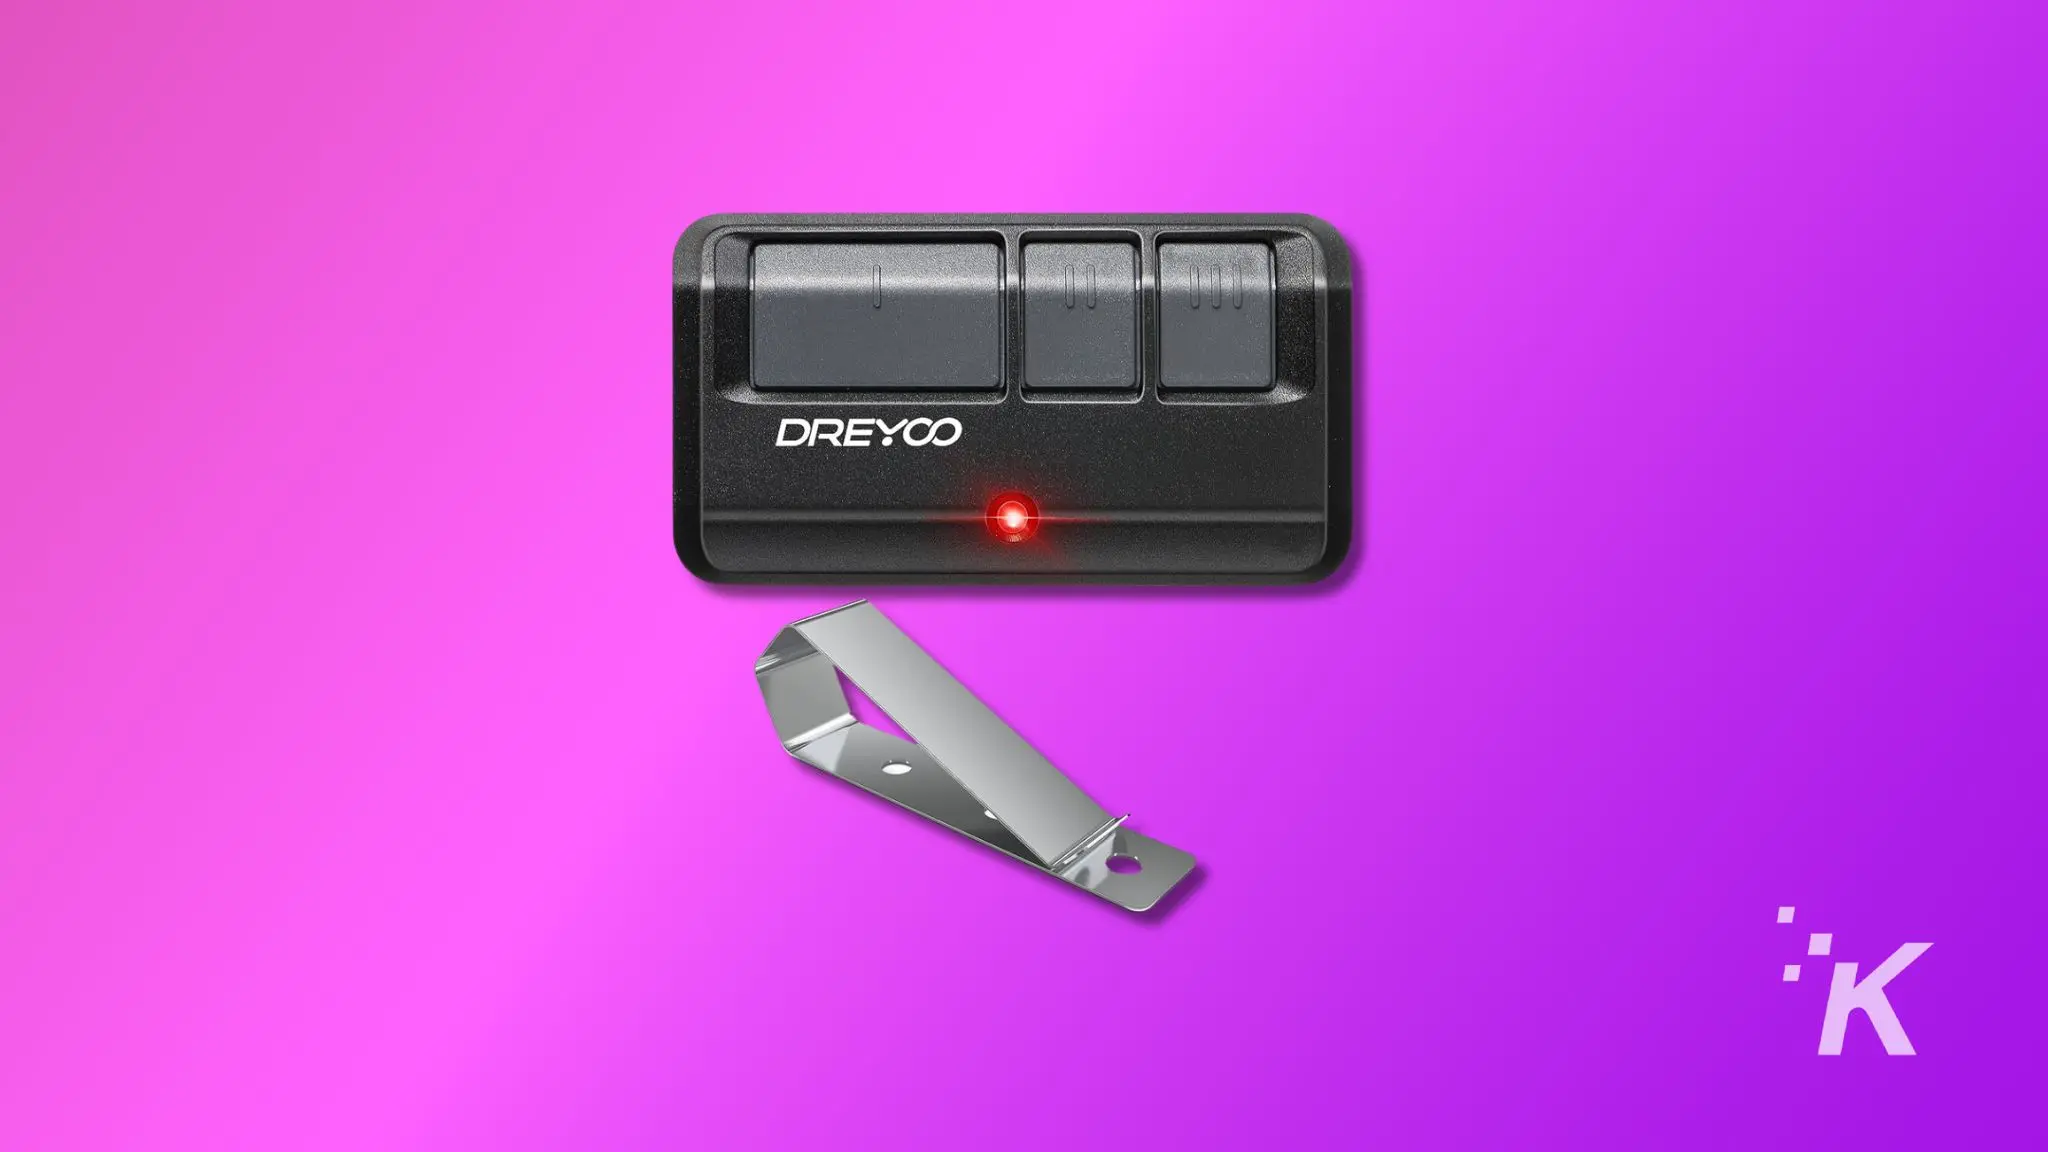
Single Button remote control (950ESTD* & 950EV)
3 Button remote control (953ESTD, 953EV, 953EV-P2, 953EVC and 953EVC-P2)
Keychain remote control (956EV, 956EV-P2 and 956EVC-P2)
Universal Mini remote control (MC100C-P2)
-
Open the back of the remote control
Most Chamberlain remote controls can be opened by using the visor clip to pry the back off carefully, first in the middle, then at the two sides.
-
If you have the universal mini remote control
The Universal mini remote control has two screws on the back of the case that need to be unscrewed. The case can then easily be lifted off.
-
Remove the old battery
Take the old battery out of the remote control, and put it aside for responsible disposal.
-
Replace the battery
Put the new battery into the remote control with the positive (+) side facing up.
-
Put the back cover on
Snap or screw the back cover back into place.
-
Re-link the remote
There’s a chance that your remote and opener will get unlinked when changing the battery. To reprogram them to work together, follow Chamberlain’s instructions.
Wrapping up
Changing the battery in the remote control for your Chamberlain garage door is a no-brainer. All you need is the right tool with you. Just follow the above mention steps, and you are good to go.
Have any thoughts on this? Carry the discussion over to our Twitter or Facebook.
Editors’ Recommendations:
- How to connect a Chamberlain myQ garage door opener to WiFi
- Does myQ work with Alexa?
- How to change a Chamberlain myQ garage door opener battery?
- How to see deleted Reddit posts and comments
